
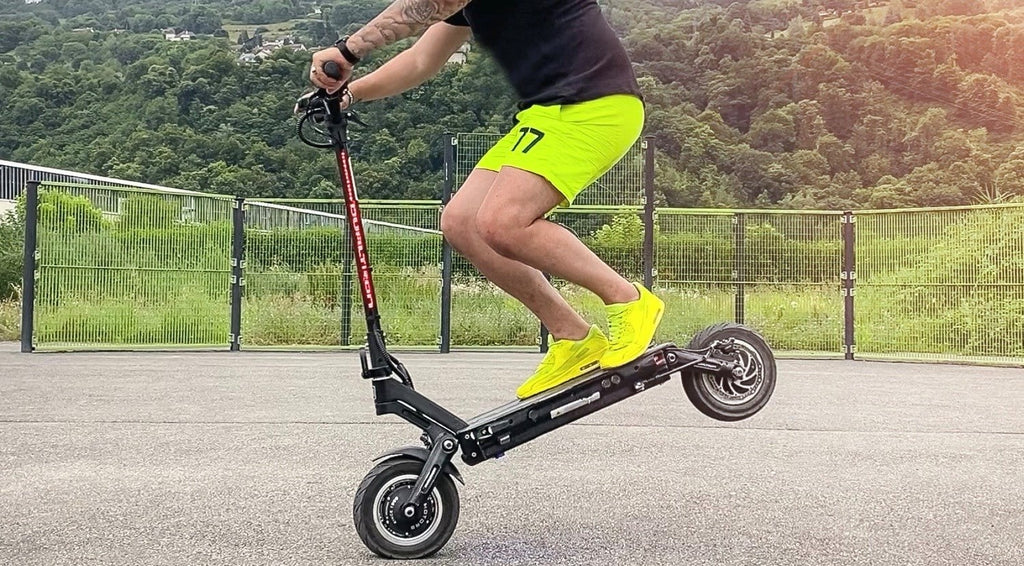
This is the big question: how to adjust disc brakes on an electric scooter?
Many customers contact us about adjusting their brakes on their electric scooter. Indeed, it is useful for safe riding to regularly adjust the brake caliper so that it works optimally.
This guide is therefore especially aimed at users of electric scooters with disc brakes. We will explain how the disc brake works and how to properly adjust it to maintain quality braking.
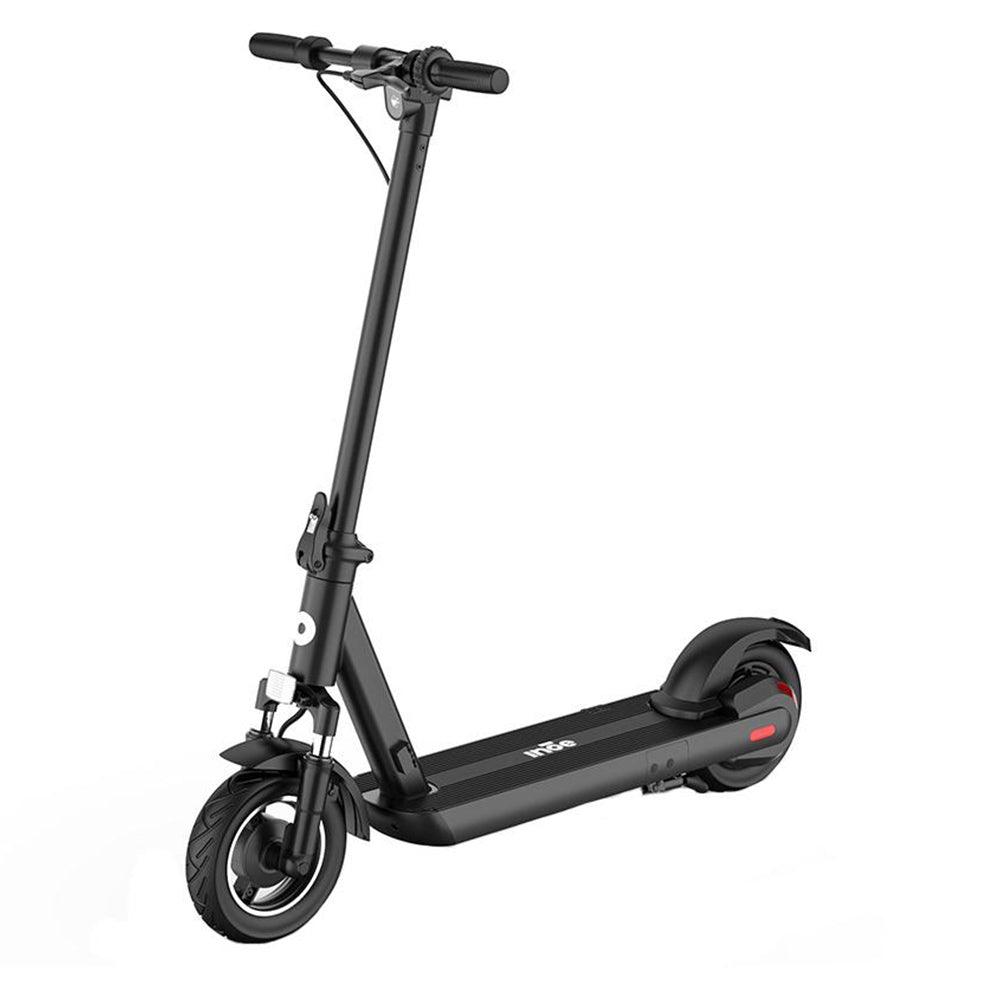
Special guide to adjust the disc brake of an electric scooter
If you feel your braking lacks bite, it may be time to tighten the brake caliper. Before thinking about changing your brake pads, if they are not yet worn, they most certainly just need a simple tightening.

When to change brake pads?
At Weebot, based on our experience with electric scooters, we generally advise to change brake pads between 500 and 1000 km traveled (excluding city use). If you ride exclusively in town, it may be necessary to change them between 200 km and 500 km, depending on your riding style. Light and long braking wears your brake pads faster.
If you need to change them, we can do it at our Groslay Service Center without an appointment.
But this operation can also be done by yourself. Thanks to fast delivery via our online shop, you can receive new brake pads within 48 to 72 hours.
You should know that if your brake pads are too worn, your brake disc will be permanently damaged. So do not delay, because when the brake lining has completely disappeared, a rubbing noise will be heard during braking. And you will also have to change the disc.
What type of brake lining
There are 3 types of lining for brake pads:
- Organic
- Sintered (or sintered metal)
- Ceramic
In this electric scooter brake guide, we deliberately leave aside ceramic lining because it is generally reserved for competition models (like the electric scooter Rion). This type of pad is really only useful on fast electric scooter models requiring the best braking.

Let us then focus on the other 2 much more common types. While organic lining is the cheapest, it also wears out much faster than sintered models. Having less bite than organics when cold, metal pads are however much more durable and significantly delay the overheating point that leads to loss of braking power.
For a good balance between quality, longevity, and cost, Weebot recommends the SINTERED version also called sintered metal.
Regular tightening of brake pads
Brake pad wear is natural but also depends on your riding. If you adopt a sporty riding style on your electric scooter with strong braking, this will tend to wear the lining faster. Your weight also affects brake pad wear. The higher it is, the more the vehicle will need to press its brakes.
After some time of use, you may feel that you need to press particularly far on the brake lever. This means the lining layer of the pads has reduced. You must then bring the pads closer to the disc to benefit from more effective braking.
For better safety on the road but also for better comfort of use, Weebot advises you to do this tightening of the pads as soon as there is too much slack in the brake lever. This operation is not very complicated nor long to perform. It takes about fifteen minutes even if you are not a professional.
How to properly adjust your mechanical disc brake?
To benefit from good braking without having to press too hard on the brake lever, pad adjustment is done in only 4 steps.
Step 1: unscrew the brake caliper from its mount
This step allows access to the tightening screw located at the back of the brake caliper. Remove the 2 caliper holding screws shown in yellow in the photo.

Step 2: tighten the brake pads around the disc
Once the caliper is removed and in hand, turn it over to reveal the flat tightening screw (circled in blue). Be careful, this step requires an Allen key.
You must now tighten this screw (quarter turns) at the back of the brake caliper to leave only 1 millimeter of space between the pad and the electric scooter brake disc.

Step 3: put the brake caliper back on its mount
Put the brake caliper back in place without fully tightening the 2 holding screws. It must remain sufficiently mobile before performing step 4.
Step 4: hold the brake lever fully pressed
Press and hold the brake lever of the electric scooter, then fully tighten the 2 holding screws of the caliper mount.
Before riding again with your electric scooter, we invite you to do tests at low speed, then gradually increase speed to check that the braking system is properly adjusted.
The wheel must turn effortlessly and silently.
Step 5 optional: fine-tune if necessary
You can then loosen the brake lever adjusters and at the calipers if needed.
Weebot’s advice
When changing brake pads on an electric scooter, a bedding-in period is necessary to obtain good braking. Weebot advises performing small quick brake pulses to bed the pads faster. It usually takes about fifteen kilometers for the braking system to be optimal on your electric scooter.
To maintain and protect your disc brakes as long as possible, do not hesitate to invest in a special brake cleaning spray for electric scooters.
Mechanical or hydraulic braking system?
It is often said that hydraulic disc brakes are better than mechanical disc brakes. This is not necessarily true. A properly adjusted mechanical disc brake is as effective as hydraulic braking on an electric scooter.
Hydraulics only provide more comfort by requiring less pressure on the brake lever. It should be known that in case of changes in outside temperature, moisture can enter a hydraulic brake system. You then need to loosen the system at the brake levers and give several quick brake pulses to expel gas bubbles inside.
While hydraulic braking is more comfortable daily, it still has an extra cost of around 200 to 300 euros on electric scooters.